
How checkout works
The AIQ Ecommerce checkout is embedded in a page on your own site, inside an iframe. Your customer never leaves your domain.
Cart sidebar --> Checkout button --> Your checkout page --> AIQ Ecommerce checkout in an iframeThat means:
- The address bar keeps showing your domain throughout.
- Your header, footer and branding can stay visible, if you want them to.
- Payment, identity checks and order handling are all done by AIQ Ecommerce, inside the frame.
- Your analytics see the whole journey, because the visitor never left.
The plugin does not process payments and never sees payment details. Everything sensitive happens inside AIQ Ecommerce’s own checkout.
The checkout page
It is usually created for you
In Full storefront mode the plugin creates a page called Checkout, at /dispense-checkout/, containing the shortcode:
[dispense_checkout_iframe]Pointing the setting at it
- Go to AIQ Ecommerce Products → API Settings → General.
- Find the Checkout Page.
- Select the Checkout page from the dropdown.
- Click Save Settings.
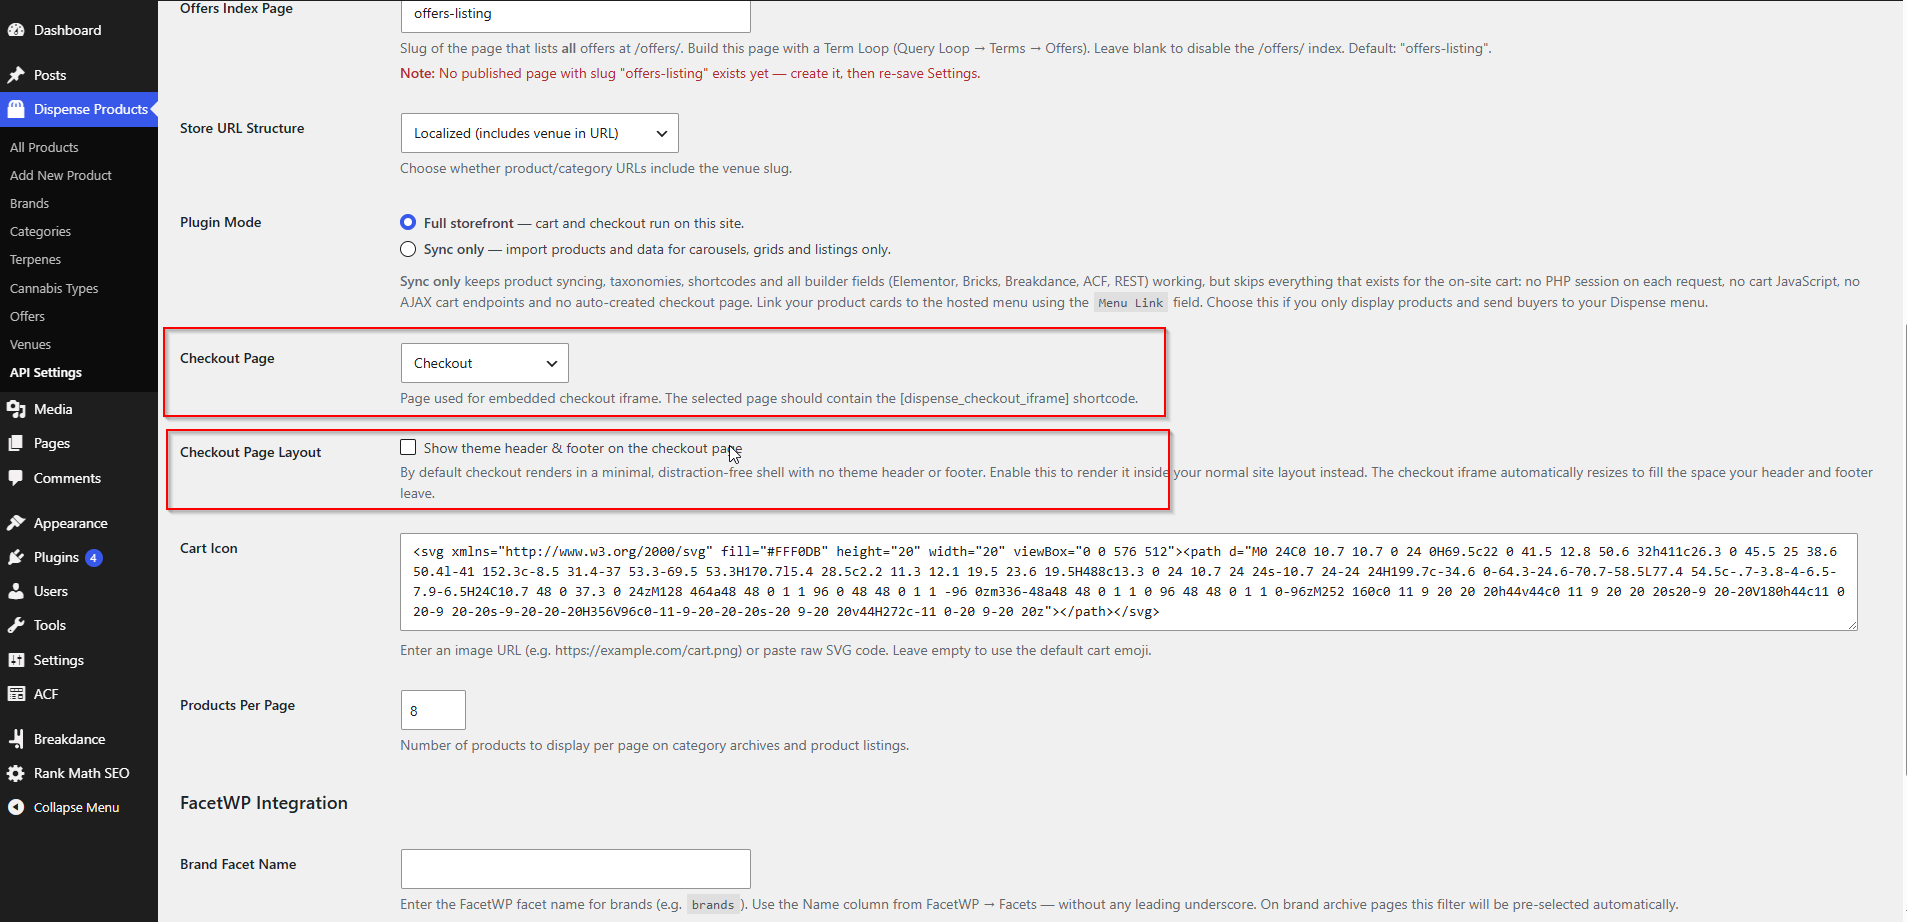
The cart’s Checkout button now opens that page instead of sending the visitor elsewhere.
Using a different page
You can use any page you like:
- Create the page.
- Add
[dispense_checkout_iframe]to it. - Select it under Checkout Page.
Useful when you want checkout at /basket/checkout/ or under a particular section of the site.
If you delete the Checkout page
In Full storefront mode the plugin recreates it when it needs it. In Sync only mode it is never created and never re-created.
Page layout options
AIQ Ecommerce Products → API Settings → General → Checkout Page Layout
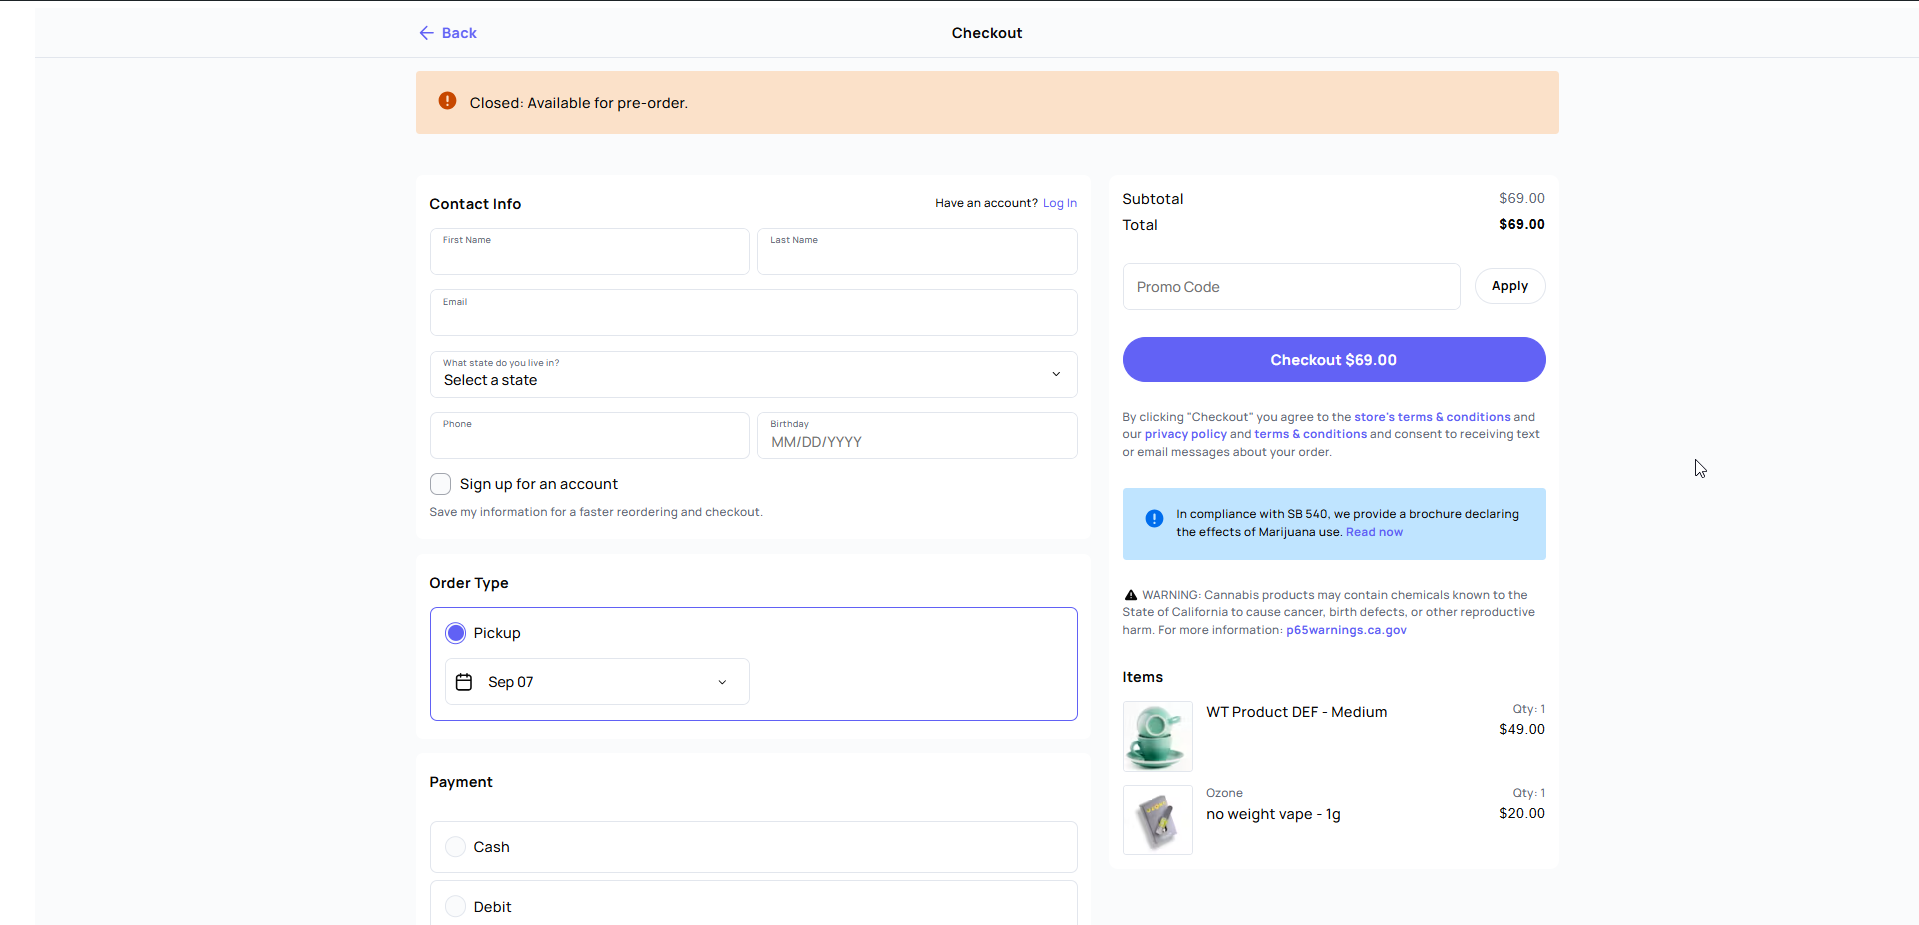
Minimal shell (the default)
The checkout page renders with no theme header and no footer — just the checkout, on a clean white background. It is the default because it is the fewest possible distractions at the point of purchase, and because it sidesteps every theme layout problem in one move.
Inside your theme layout
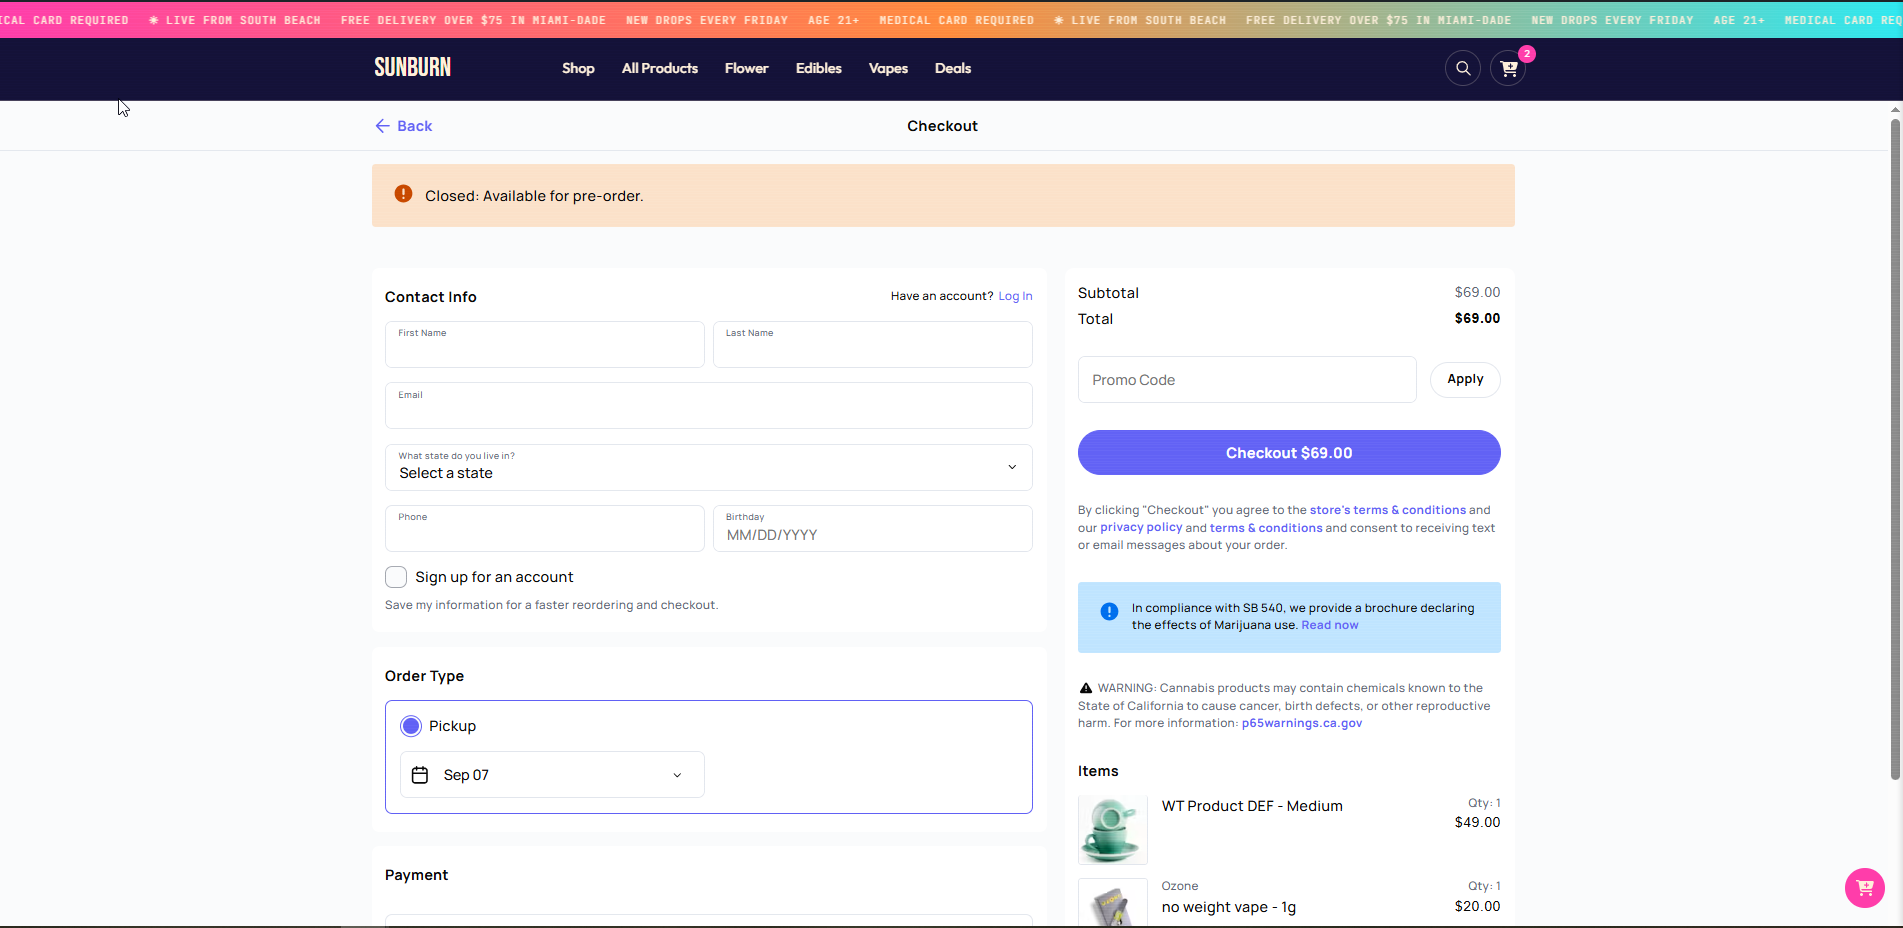
Tick Show theme header & footer on the checkout page and the page renders inside your normal site layout, header, footer, navigation and all.
The iframe measures the space your header and footer leave and sizes itself to fit, so the page itself never scrolls — the checkout scrolls inside the frame.
Which to choose
| Minimal shell | Theme layout | |
|---|---|---|
| Distractions | None | Navigation stays available |
| Branding | Just the checkout | Full site branding |
| Theme conflicts | Very unlikely | Possible — see below |
| Sticky headers | Not an issue | Can overlap the frame |
| Best for | Most stores | Sites where the header is central to trust |
Start with the minimal shell. Switch only if you have a specific reason, and test carefully on mobile if you do.
Sticky headers
If your theme uses a position: fixed sticky header, it may overlap the top of the checkout frame.
Fixed elements take up no layout space, so there is nothing for the frame to measure around. Either use the minimal shell, or make the header non-sticky on the checkout page:
.page-id-123 .site-header { position: static; }Overriding the layout in code
// Always render checkout inside the theme layout.
add_filter('dispense_checkout_use_minimal_shell', '__return_false');
// Always use the minimal shell.
add_filter('dispense_checkout_use_minimal_shell', '__return_true');
What your customer sees
- They add items to the cart. The icon count updates and a toast confirms each addition.
- They open the cart sidebar and review items, quantities and totals.
- They click Checkout. A
begin_checkoutanalytics event fires. - They land on your checkout page, still on your domain.
- The AIQ Ecommerce checkout loads in the frame — details, identity verification, fulfilment choice and payment, exactly as AIQ Ecommerce presents them.
- They complete the order. A
purchaseanalytics event fires with the transaction ID. - They are returned to your site.
How the return works
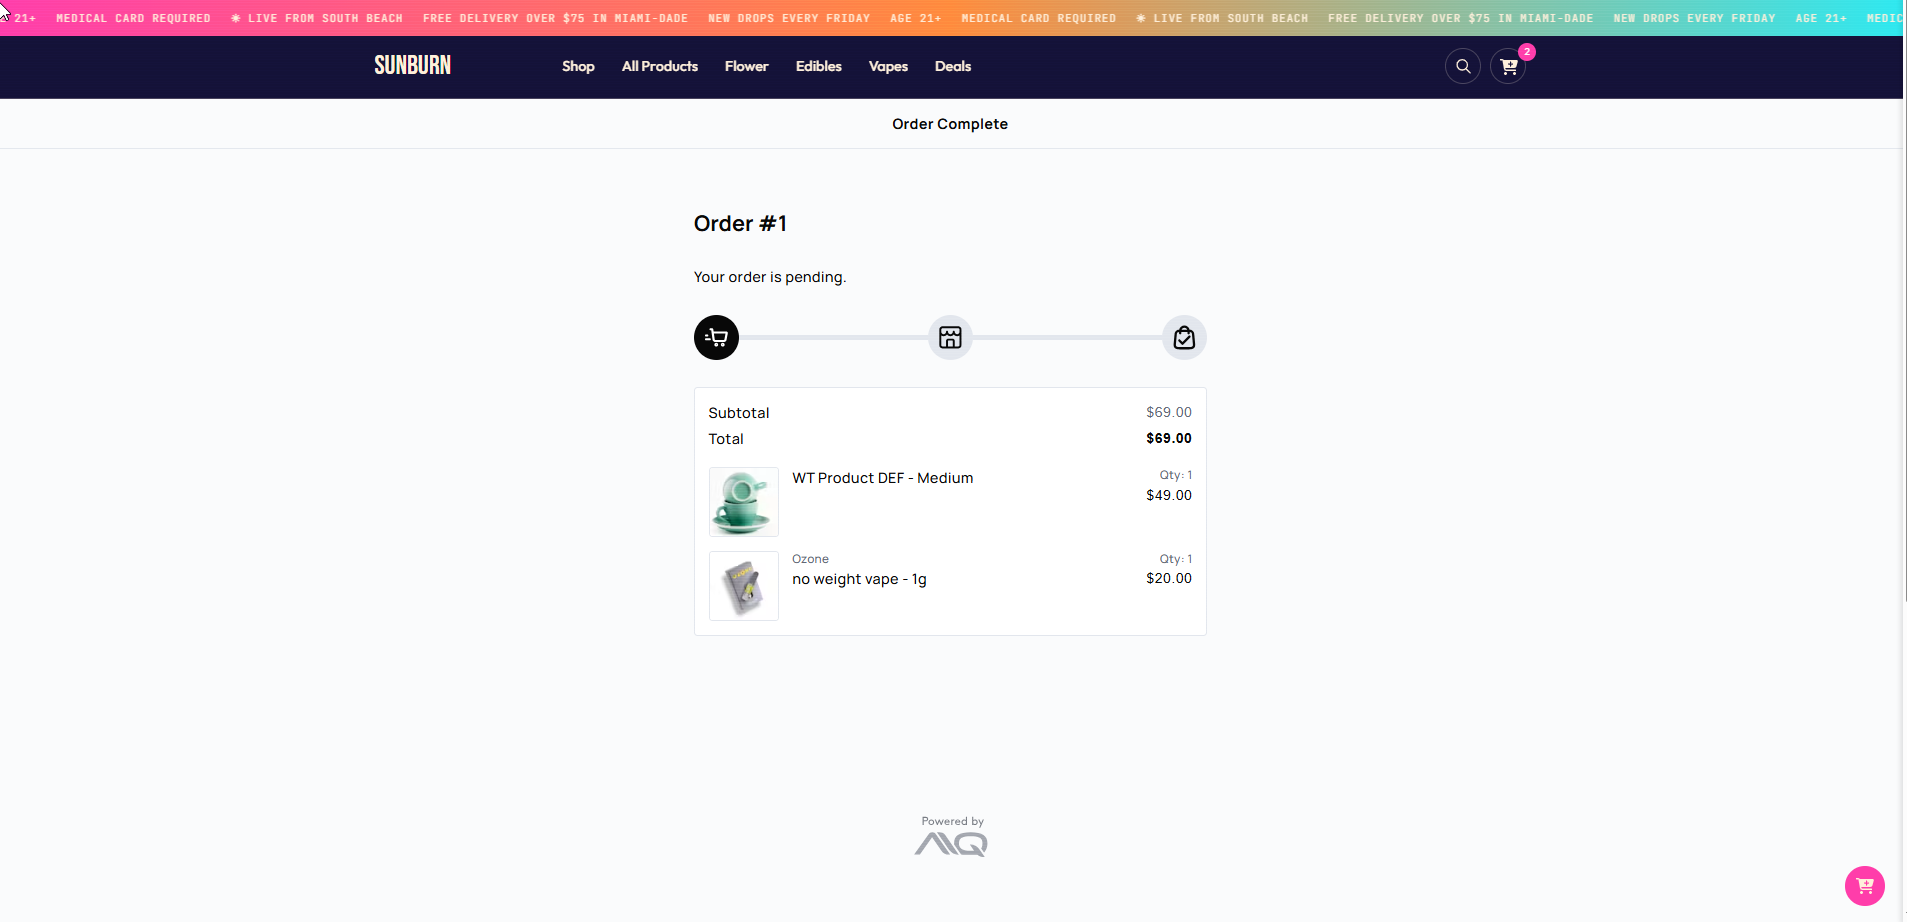
When an order completes, AIQ Ecommerce returns the customer with query parameters on the URL:
| Parameter | Default name | Contains |
|---|---|---|
| Completion flag | dispense_order_complete |
Marks the order as finished |
| Transaction ID | transaction_id |
The order's identifier |
The plugin reads these to fire the purchase analytics event with the right transaction ID.
Developers can rename them if they clash with something else on the site — see Hooks & Extending.
A thank-you page
You are free to build one. Create a page, and show the completion message when the completion parameter is present in the URL. The transaction ID is there too if you want to display an order reference.
Testing checkout
Before going live, and after any theme or caching change:
- [ ] Cart → Checkout opens the right page
- [ ] The AIQ Ecommerce checkout loads inside the frame
- [ ] The frame fits the window with no double scrollbars
- [ ] It works on a phone, in portrait and landscape
- [ ] It works in a private browsing window, logged out
- [ ] Completing an order returns the customer to your site
- [ ] The order appears in AIQ Ecommerce
- [ ]
begin_checkoutandpurchaseevents appear in your analytics - [ ] Your header does not overlap the frame (if using theme layout)
Known limitations
The checkout is an iframe. That is a deliberate design — AIQ Ecommerce owns payment and compliance — but it brings the usual iframe constraints:
- You cannot restyle the checkout. Its appearance is controlled by AIQ Ecommerce. Your Custom CSS does not reach inside the frame.
- You cannot add fields to it. No extra questions, no custom upsells inside the checkout.
- Browser autofill can behave differently inside a frame than on a top-level page.
- The frame cannot be measured around fixed-position elements, hence the sticky header caveat.
Other limitations:
- Checkout requires Full storefront mode. In Sync only mode there is no checkout page and the shortcode renders nothing.
- The checkout page must never be cached. It is session-specific. The plugin sends no-cache headers on the minimal shell, but your caching plugin and CDN need their own exclusions.
- A cart belongs to one venue. Customers cannot check out with items from two locations at once.
- Strict browser privacy settings that block third-party frames or storage can prevent the checkout loading. This is rare, and typically affects visitors who have gone out of their way to configure it.
- A very restrictive Content Security Policy on your site can block the frame. If you set one, it must allow AIQ Ecommerce’s checkout origin.
Common problems
The checkout page is blank.
The page does not contain [dispense_checkout_iframe], or the Checkout Page setting points at a different page. Check both.
The checkout button goes to the wrong page.
Set Checkout Page correctly and save. The cart reads that setting.
The checkout frame is tiny, or cut off.
Usually a theme layout issue. Switch to the minimal shell to confirm — if it is fine there, the theme is the cause. A sticky header is the most common culprit.
There are two scrollbars.
The page and the frame are both scrolling. The minimal shell prevents this; in theme layout, make sure nothing in your theme forces a minimum height on the page content.
The checkout does not load at all.
Check Test Connection on the Tools & Debug tab, check the browser console for a blocked-frame message, and check whether a security plugin or CSP is blocking frames.
The purchase event never fires.
It depends on the return parameters. Check the URL the customer lands on after ordering actually carries dispense_order_complete, and that no redirect on your site strips query parameters.
Checkout works logged in but not logged out.
Almost always caching — a cached copy of the page is being served to logged-out visitors. Exclude the checkout page from your cache.